Your home should reflect who you are—but a beautiful space doesn't require a professional designer, a hefty budget, or a garage full of power tools. If you've ever scrolled through Instagram and thought "I could never DIY that," this guide is for you. Whether you're renting, on a tight budget, or simply new to decorating, these five beginner-friendly DIY home décor projects prove that stunning spaces start with small, achievable steps.
The good news? Home décor trends in 2025 are celebrating exactly this: peel-and-stick simplicity, sustainable upcycling, and the "good enough" aesthetic that prioritizes personality over perfection. Let's explore five projects that take less than an afternoon, require minimal tools, and cost under $50 each.
Why DIY Home Décor Matters Right Now
Before diving into projects, it's worth understanding why DIY decorating has become a global trend. According to 2025 craft market research, the DIY home décor space is booming, with peel-and-stick wallpaper, upcycled furnishings, and rental-friendly solutions topping the trend list. This shift reflects three key drivers: affordability during uncertain economic times, sustainability concerns, and the emotional wellness benefits of hands-on creativity.
The beauty of beginning your DIY journey now? Community and resources abound. TikTok's #UpcycledDecor tag has millions of views; YouTube tutorials provide step-by-step guidance; and platforms like Pinterest make mood boards instantly actionable.
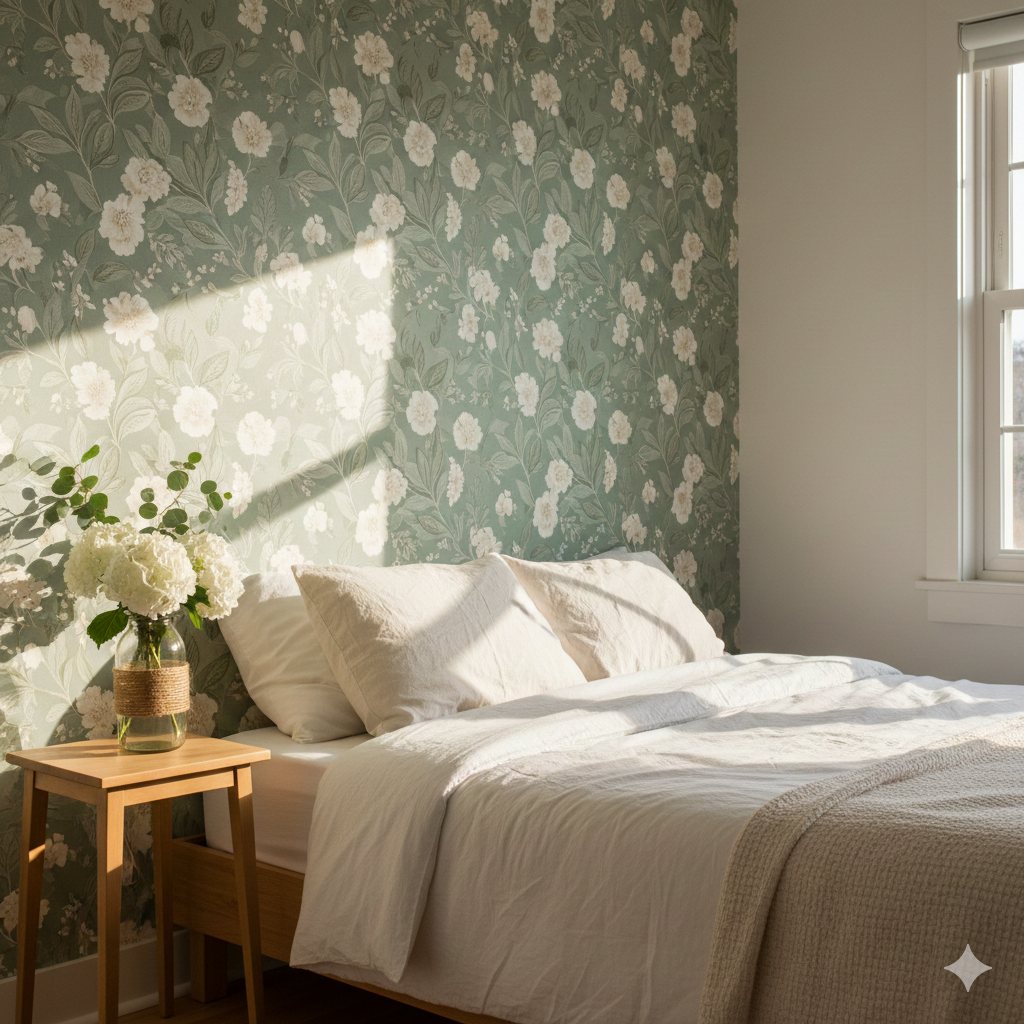
Project 1: Peel-and-Stick Wallpaper Accent Wall
Difficulty Level: Beginner (no tools required) Time Commitment: 2–4 hours Estimated Cost: $30–$50 Best For: Renters, apartment dwellers, anyone hesitant about commitment
Why It's Trending: Peel-and-stick wallpaper is the 2025 solution for anyone wanting dramatic transformation without permanent change. Unlike traditional wallpaper, it's removable, damage-free, and requires no glue, paste, or special tools.
What You'll Need:
One roll of peel-and-stick wallpaper (choose a bold pattern, texture, or subtle design—whatever speaks to your style)
Plastic scraper or credit card (usually included with wallpaper)
Craft knife or scissors
Step stool
Ruler or straightedge
Masking tape (optional)
Step-by-Step Instructions:
Prep Your Wall: Clean the surface thoroughly with a dry cloth to remove dust and debris. This ensures the wallpaper adheres properly. Remove outlet and light switch covers if wallpapering around them.
Measure and Mark: Decide where to start—typically at a corner or above a focal point (like a bed or desk). Use masking tape to mark a vertical guide line at the top of your wall to ensure straight application.
Apply the First Strip: Peel back the top 6–8 inches of the backing. Position the wallpaper at the ceiling line, aligning with your guide. Use your hands to press gently, then smooth with the scraper from top to bottom, working out air bubbles as you go.
Continue Down: Gradually peel back more backing as you work down the wall. Use the scraper in downward motions to eliminate bubbles. If bubbles appear, simply lift the wallpaper gently, smooth the area, and re-press.
Trim Excess: When you reach the baseboard, use a metal ruler as a guide and cut the excess wallpaper with a sharp craft knife. This one-motion cut prevents fraying.
Apply Adjacent Strips: For subsequent strips, align the pattern carefully with the previous panel, allowing for overlap (usually 0.5–0.75 inches).
Pro Tip: Apply wallpaper on a single accent wall—your bedroom, a powder room, or the wall behind a sofa. This creates maximum impact without overwhelming the space.
Cost Breakdown:
Peel-and-stick wallpaper: $25–$40
Tools (if not already owned): $0 (use household items)
Total: $25–$40
Project 2: Upcycled Glass Jar Vases and Planters
Difficulty Level: Absolute beginner Time Commitment: 15–30 minutes Estimated Cost: $0–$10 Best For: Anyone with jars already at home
Why It's Trending: 2025's sustainability surge means upcycling household items into décor is not only budget-friendly but culturally aligned with eco-conscious values.
What You'll Need:
Empty glass jars (pasta sauce, jam, candles—anything clear)
Water
Fresh or faux flowers
Optional: paint, markers, twine, fabric scraps
Step-by-Step Instructions:
Clean and Dry: Wash jars thoroughly and let them air-dry completely.
Fill with Water: Add fresh water (change weekly if using fresh flowers).
Add Flowers or Greenery: Arrange stems or use pebbles to anchor them. For a minimalist look, use a single stem or branch.
Style: Place jars on shelves, windowsills, or nightstands.
Upcycling Variations:
Painted Glass: Use spray paint or acrylic paint to color jars in trending 2025 shades (sage green, terracotta, cream).
Wrapped Jars: Tie twine, rope, or fabric strips around the mouth or middle of the jar for texture.
Layered Look: Fill jars with sand, stones, or dried moss before arranging stems for a botanical aesthetic.
Cost Breakdown:
Jars: $0 (reused)
Fresh flowers (optional): $5–$10
Paint or wrapping supplies: $0–$5
Total: $0–$10
Project 3: No-Sew Pillow Covers from Old Linens
Difficulty Level: Beginner (no sewing required) Time Commitment: 30 minutes Estimated Cost: $5–$15 Best For: Upcycling fabric scraps; refreshing outdated throw pillows
Why It's Trending: Textile upcycling eliminates landfill waste while creating personalized home décor.
What You'll Need:
Old bedsheet, tablecloth, or large scrap fabric
Existing pillow insert (or old pillow you're repurposing)
Fabric glue or hemming tape
Iron
Scissors
Step-by-Step Instructions:
Cut Fabric: Cut fabric 1–2 inches larger than your pillow insert on all sides.
Fold Edges: Fold edges inward by 1 inch. If using hemming tape, insert it between the folded edges; if using fabric glue, apply sparingly along the fold.
Seal Edges: Use an iron to activate hemming tape (follow product instructions), or press edges firmly by hand for glued seams.
Sew or Glue Closed: For a non-sew approach, use fabric glue along three sides, insert the pillow, and glue the final side closed. Let dry per adhesive instructions (typically 24 hours).
Cost Breakdown:
Fabric (upcycled): $0–$5
Hemming tape or fabric glue: $5–$10
Pillow insert (if needed): $0–$10
Total: $5–$15
Project 4: DIY Mirror Frame Makeover
Difficulty Level: Beginner Time Commitment: 1–2 hours Estimated Cost: $15–$30 Best For: Thrift store mirrors, outdated frames
Why It's Trending: Frame refreshes—whether painted, wrapped, or embellished—align with 2025's emphasis on affordable, personalized home décor.
What You'll Need:
Existing mirror with frame (thrift store, home already)
Acrylic paint or spray paint (trending 2025 colors: deep greens, navy, terracotta, cream)
Paintbrush or spray can
Optional: twine, rope, or fabric for wrapping
Optional: metallic finish pen (Rub n Buff) for an aged effect
Step-by-Step Instructions:
Prepare: Clean the mirror frame thoroughly.
Protect the Glass: Use painter's tape to mask off the mirror surface so only the frame gets painted.
Paint: Apply two thin coats of acrylic or spray paint, allowing drying time between coats. Spray paint creates a smoother finish; acrylic paint offers more color depth.
Finish: For a metallic accent, use Rub n Buff or a metallic pen on select frame details.
Remove Tape: Carefully peel off painter's tape once paint is fully dry.
Cost Breakdown:
Existing mirror: $0–$10 (thrifted) or use what you own
Paint: $5–$15
Optional embellishments: $5–$10
Total: $15–$30
Project 5: DIY Floating Shelf from Reclaimed Wood
Difficulty Level: Beginner-intermediate Time Commitment: 1–2 hours (plus drying time for stain/paint) Estimated Cost: $20–$40 Best For: Adding storage without wall damage; displaying décor collections
Why It's Trending: Sustainable shelving aligns with 2025's emphasis on bamboo, reclaimed wood, and minimalist storage solutions.
What You'll Need:
Reclaimed wood plank, pallet wood, or butcher block board (12–24 inches long)
Floating shelf hardware kit (available at hardware stores; includes brackets and anchors)
Wood stain or paint (optional)
Drill and drill bits
Level
Measuring tape
Pencil
Step-by-Step Instructions:
Prepare Wood: Sand the wood smooth. Apply stain or paint in a trending 2025 shade (natural wood grain, sage, cream).
Locate Studs: Use a stud finder to locate wall studs (critical for load-bearing).
Mark Bracket Positions: Hold the shelf against the wall at your desired height. Mark where brackets will go using a pencil.
Install Brackets: Drill pilot holes to avoid wood splitting. Attach brackets to studs using provided hardware.
Mount Shelf: Slide the wood shelf onto the brackets and secure per hardware instructions.
Style: Arrange books, plants, photographs, or décor objects on the shelf for a curated look.
Cost Breakdown:
Wood (reclaimed or budget lumber): $10–$20
Shelf hardware kit: $15–$25
Paint/stain: $5–$10
Total: $30–$55
Comparison Table: DIY Projects at a Glance
Project | Difficulty | Time | Cost | Best For | Renter-Friendly? |
Peel-and-Stick Wallpaper | Beginner | 2–4 hrs | $25–$40 | Impact on budget | ✅ Yes |
Upcycled Glass Jars | Beginner | 15–30 min | $0–$10 | Immediate gratification | ✅ Yes |
No-Sew Pillow Covers | Beginner | 30 min | $5–$15 | Textile upcycling | ✅ Yes |
Mirror Frame Makeover | Beginner | 1–2 hrs | $15–$30 | Thrift finds | ✅ Yes |
Floating Shelf | Beginner-Intermediate | 1–2 hrs | $30–$55 | Storage + display | ⚠️ Requires wall anchors |
FAQ: DIY Home Décor for Beginners
Q: Do I need power tools for any of these projects?
A: No. All projects use basic household tools (scissors, scraper, paintbrush, hammer). The floating shelf project requires a drill, which you can borrow or rent affordably from hardware stores.
Q: I'm renting—are all these projects landlord-approved?
A: Yes, with one note: The floating shelf requires wall anchors and may leave small holes if removed. Check your lease. The other four projects are completely removable and damage-free—perfect for renters.
Q: What 2025 colors should I choose for paint or wallpaper?
A: Trending 2025 décor colors include sage green, terracotta, navy blue, cream, and earthy ochre—all aligning with sustainability-focused, natural palettes.
Q: Can I scale these projects to other rooms?
A: Absolutely. Peel-and-stick wallpaper works in bedrooms, bathrooms, and powder rooms. Glass jar vases suit kitchens and living rooms. Floating shelves work anywhere you need storage or display space.
Q: Where do I source budget-friendly materials?
A: Thrift stores (mirrors, frames, wood), dollar stores (jars, paint, brushes), online retailers (peel-and-stick wallpaper, shelf hardware), and free community groups (Facebook Marketplace, Buy Nothing groups) for reclaimed wood and pallets.
Q: What if my peel-and-stick wallpaper doesn't stick?
A: If your wall is textured or glossy, clean it with a primer spray before application. If bubbles form, use a craft knife to carefully lift the wallpaper and smooth it back down.
Q: How do I maintain DIY projects long-term?
A: Dust painted frames and mirrors regularly. Change water in jar vases weekly. Pillow covers can be hand-washed or spot-cleaned. Wooden shelves benefit from occasional oiling or re-sealing every 1–2 years.
Why Start Your DIY Journey Now?
Decorating your own space isn't just about saving money—though that's a meaningful benefit. It's about agency, creativity, and the satisfaction of transformation. When you DIY, you're not just following trends; you're crafting an environment that genuinely reflects who you are.
The 2025 home décor landscape celebrates beginner creativity, sustainability, and the courage to try. Whether you're a renter refreshing a temporary space or a homeowner exploring new aesthetics, these five projects prove that you don't need a design degree, a construction crew, or a six-figure budget to create a home you love.
Start small. Pick one project that excites you. Buy the materials. Spend an afternoon creating. Notice how your space—and your relationship to it—shifts.
Your home is waiting for your touch.